You probably have heard the phrase, “You are what you eat,” but I would like to take that a step further and ask you to consider the phrase, “You are what you eat eats.” Generally, we humans eat plants and animals, and the animals we eat eat plants. So what do the plants eat? They eat what’s in the soil. So it’s extremely important to spend a considerable amount of time deciding if the soil in our gardens have enough good nutrients for the plants to eat. That’s what I want you think about for a bit because, in my opinion, there is not enough focus on this issue, and I think it needs more attention. I plan on writing more extensively about this in the late fall or winter when most gardens are harvested so you can get a head start on preparing next year’s garden beds with healthy, nutrient-dense soil. But because the next step in creating the vegetable garden in this bed is filling the frames with rich, quality soil for my plants to eat, I want to touch on it a bit at beginning of this post.
I have a lot of experience and knowledge about gardening, but not enough about soil besides adding fertilizer and compost. So this fall I purchased the book, “Teaming with Microbes: The Organic Gardener’s Guide to the Soil Food Web.” It is an amazing book, and I am learning so much! Most experienced and some inexperienced gardeners know having worms in their soil is a good thing. Worms in soil means the soil is generally healthy, and the worms will help aerate and fertilize it. But there’s a lot more to soil than just worms. In fact, the soil food web consists of birds, ground animals, worms, nematodes (some good, some bad and some microscopic), arthropods (good and bad), protozoa, bacteria and fungi all working to break down organic matter into rich, fabulous soil that is good for the plants and provides health benefits to us.
I haven’t read the whole book yet, but learned enough to get me started this year. One of the most important things I learned is about mycorrhizal fungi. Mycorrhizal fungi attach to the roots and help plants develop fabulous root systems, thereby giving us larger plants and better yield. Good root systems also cause plants to be more nutritious because they can reach more nutrients in the soil. I also learned that mycorrhizal fungi are extremely fragile and therefore are easily destroyed by disturbing the soil. Well, I had already probably done that by removing the overgrowth, so my goal was to figure out how to add them back to the soil. After doing some research online and a visit to my local garden store, I decided my best choice at this time was Jobe’s Organic Vegetable & Tomato Granular Fertilizer. It was a fairly good overall organic fertilizer and soil amendment with lots of microbial activity, including mycorrhizal fungi. According to the book, I would need to amend this specific bed for at least two years in order for the mycorrhizal fungi to grow and multiply on their own.
Next I needed to find some good soil to add to my frames. I didn’t have any extra on hand, and the compost pile I had started last fall was far from ready. After some searching online, I found Cedar Grove Composting in my neighboring town. They had a vegetable garden mix that included compost, which is a critical component for nutritious soil, and sand for good drainage. I was a little concerned about the cost because there were no prices listed online, but was pleased to find out after I arrived at their place of business that a yard of this mix was less than $15.00! Another consideration was that it was not 100% organic, but I really didn’t have much choice this year. I had to go with this mix or not have a garden at all, which is not an option.
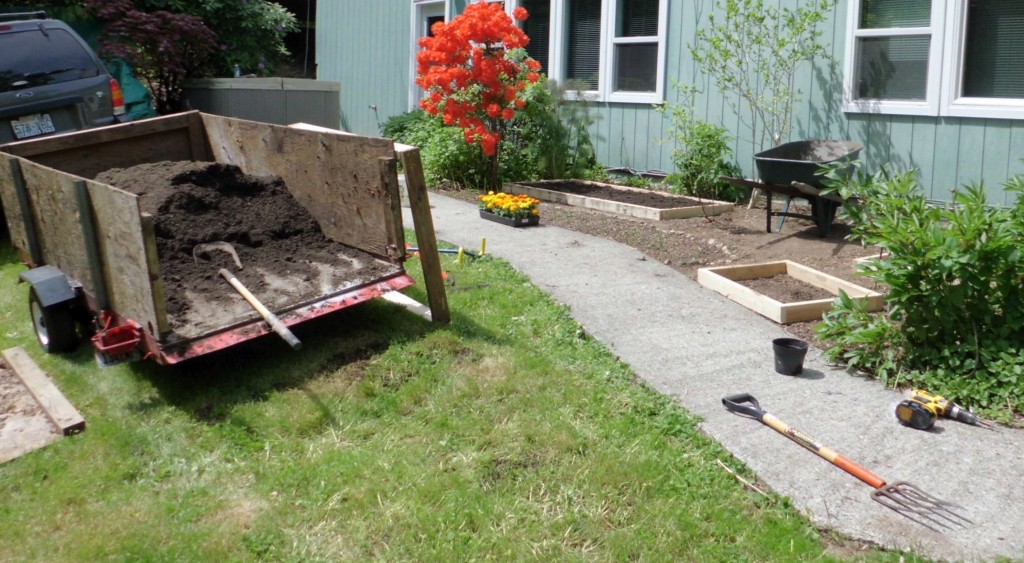
Here’s a picture of the operation after I returned home and got started on the first bed:
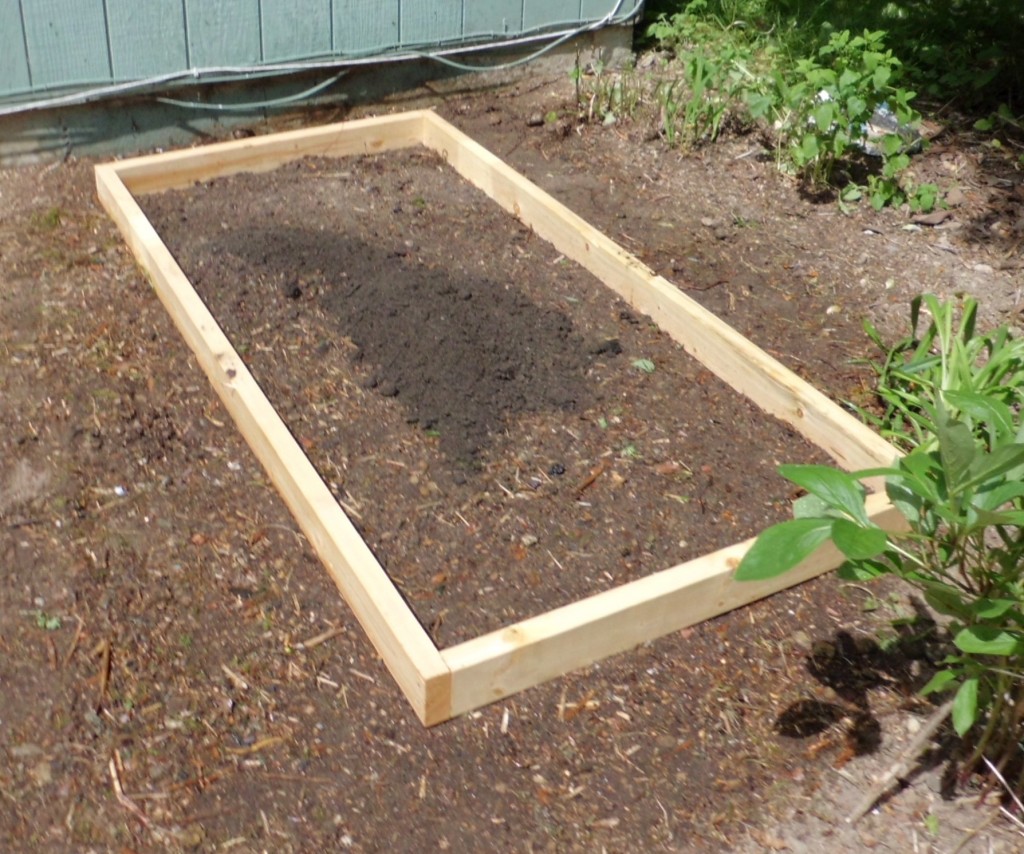
As you can see, I removed the center frame so it would be easier to move around with the wheelbarrow. First, I needed to prepare the soil that was already in the three outer beds with the Jobe’s fertilizer. I loosely spread the granules per the instructions, worked it in with my Garden Claw
and gave it a good soaking.
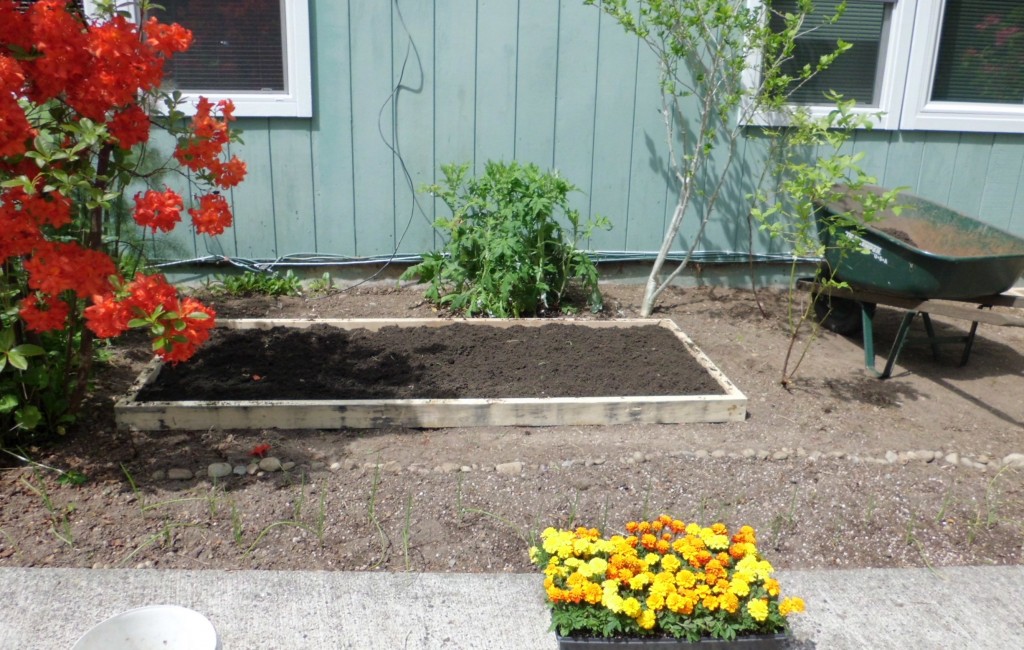
Next, I added the new soil, spread it evenly and gave it another good soaking.
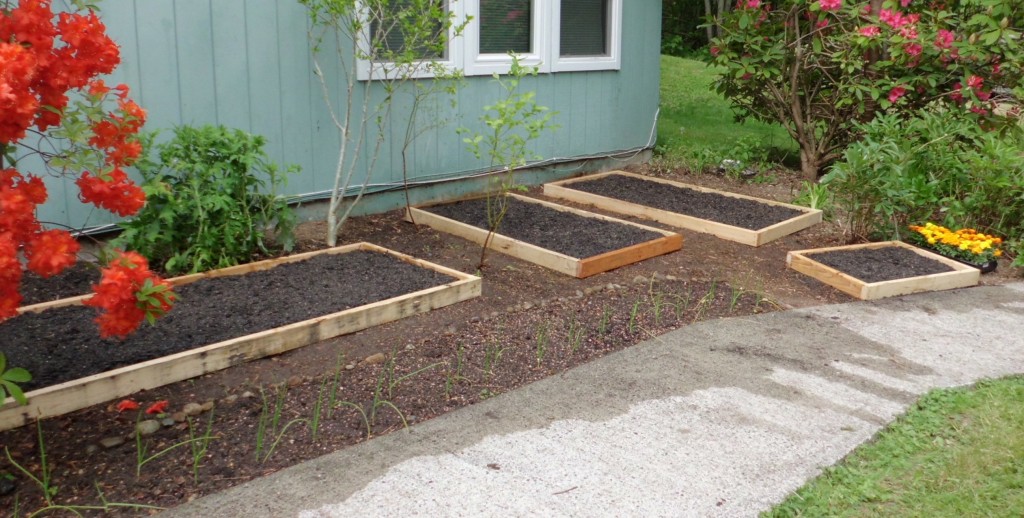
I finished the other two beds, put the frame back into the center, prepared the soil like I had done with the others, spread it with dirt and watered it well. Here’s the finished product.
It’s all ready for planting, which I did a few days later. I’ll write the next post all about how I planted each bed, what method I used and why I garden by the phases of the moon.
What do you think about having rich, healthy soil in your garden? I’d love to get your feedback. Here’s to happy, healthy gardening!
Shared on Simple Lives Thursday.


